Wednesday 29 August 2012

My twist of the Chocolate Mousse from Sorted

Hey guys, Since I haven't baked for so long. I decided to try the chocolate mousse from sorted with my twist on it.. though its not new but instead of orange zest, I used peppermint flavour. =) I also had fun with my new bento cutters and pooh bear sandwich cutter that i recently bought. Here are the pictures enjoy =). 

The bento cutters 
The Lion's Maine, Eyes and Mouth is made of Honey Ham and the whiskers made of seaweed.. isn't it cute? it would be better with egg sheets but i did not have the time to make them.


Lion and Rabbit =)
Now for the dessert : Chocolate Mousse Peppermint flavour and Original. For the instructions and recipe Chocolate Mousse (Sorted) <-- Click the Link.  Only Difference between my chocolate mousse is I replace orange zest for peppermint flavour essence.
Here are the ingredients you need : Since I made 2 batches, I just doubled the amount
3 egg whites 
100 ml of milk 
250g of chocolate (which ever you like, semi-sweet or pure dark chocolate) I am not fond of dark chocolate so I just used semi-sweet chocolate chips. But because I misread the ingredient. I had to mix in pure dark baking chocolate to make 500g.
280ml of double cream ( I couldn't find double cream thus i used whipping cream instead)
peppermint essence ( as for the amount.. I just added till i could taste the mint flavour) trial and error
 Egg Whites <-- Whisk it till it forms firm but soft peaks.
 Remember to cut the chocolate if it comes in the form of bars.
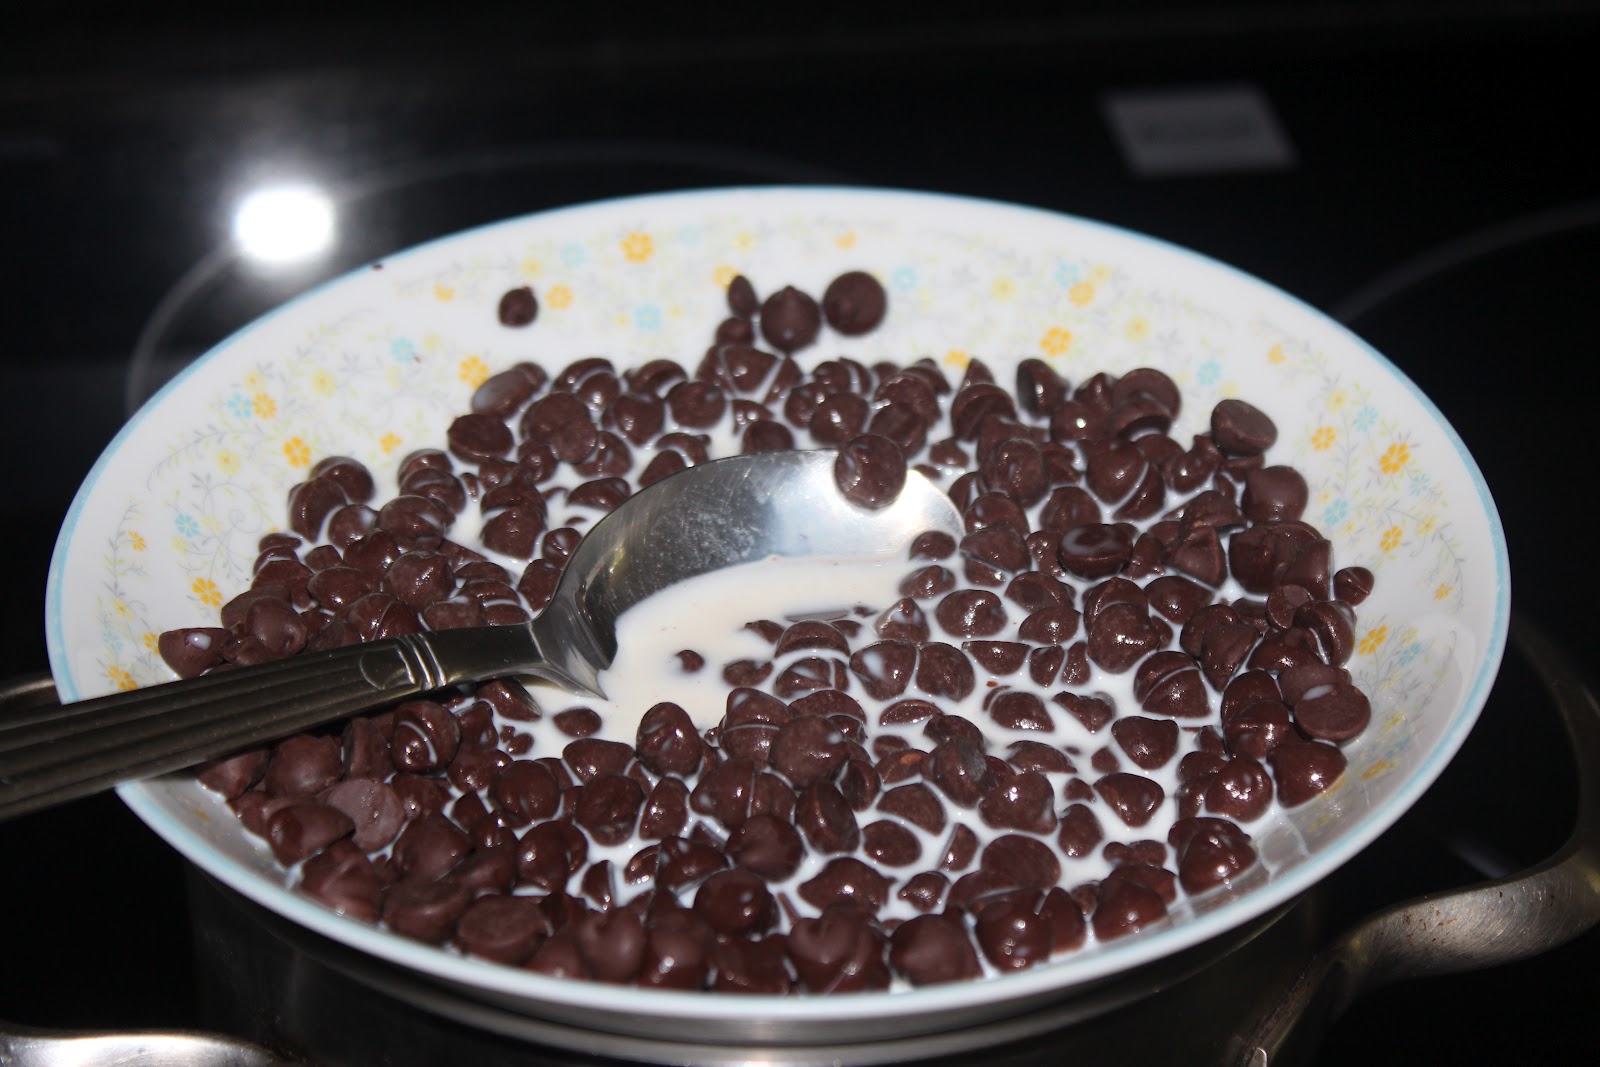
Melt the Chocolate with the Milk using the double boil method.. Your chocolate must not touch the water.
Until it is smooth and glossy as shown in the pictures *top and bottom* at this stage remove it from the stove and let it cool before adding it into the whipping cream. 

After the chocolate as cool, combine it with the whipping cream and slowly mix it by folding
Next add the egg whites. At this point, your ready to pour the mixture into ramekins or any small containers. 
Example of a ramekin *on top*. Once you have poured the mixture. Put it in the fridge for 2 hours or over night. until it is firm. Then it is ready to eat =)


  After 2 hours, it should be firm and ready to eat. but according to a friend, she said to leave it over night. you can add any toppings you like. I added whipping cream and chocolate rice. ONE WORD to describe it. DELICIOUS... =) Not too sweet and Not too bitter.. just the right combination of sweetness and bitterness.
My new bear shaped sandwich cutter... i thought it was so adorable that i had to buy and try it =)

Here is the end product.. isn't it cute? for a first try.. i guess it is not bad. Filling is left over honey ham. 


Tuesday 28 August 2012

Pink Rose Sparkle

Hey Guys.. I know it has been so long since I posted something but no worries.. I have a new design for you guys to comment.. as i am gonna post another up real soon regarding dessert making. Stay tune and Enjoy =)
Items i used = Poshe Nail Strengthening Base Coat, Poshe Super Fast Drying Top Coat, OPI (Black Onyx) and China Glaze Crackle Glaze (Glam-More) for the tip though i made it that it did not crack.. =)
deco stickers I used.. u can used any stickers that have rose pattern on them or a combination of black and pink. Bought mine from Daiso (if u are in asian countries)
and the finished product.. hope u guys like it.. especially easy for those who are in the rush or busy like me =)

Wednesday 1 August 2012

Sponge Nail Art

Hey Guys, I know it has been a long time since i post something up. As I am currently busy with school work. But since today I repainted my nails. I would show you, What I have done.  I did two manicures as I did not really like the first one.
my first attempt at sponge nail art was using real polishes from Orly sweets collection. I did not really like the final results
So I redid them using acrylic paint purple and blue (it was easier to apply than nail polish). and I was satisfied with the final results thought it isn't as nice as hers. this pattern, I followed cutepolish's tutorial on the glowing skyline.. click the link to go watch the tutorial -> glowing skyline
Here are the final pictures of both my nail art using sponge.