Saturday, 13 October 2012

5 Day Cookie Marathon

Hey Guys, These week I did a 5 day cookie marathon with my best friend though she accompanied me for only 2 days. We made Sugar Cookies and decorate it with fondant and royal icing.. all made from scratch except the fondant. The recipe for the Sugar Cookies can be taken from my previous post. Here are the pictures so do enjoy them. Fill free to comment =).

Day 1 - Preparing the Dough 


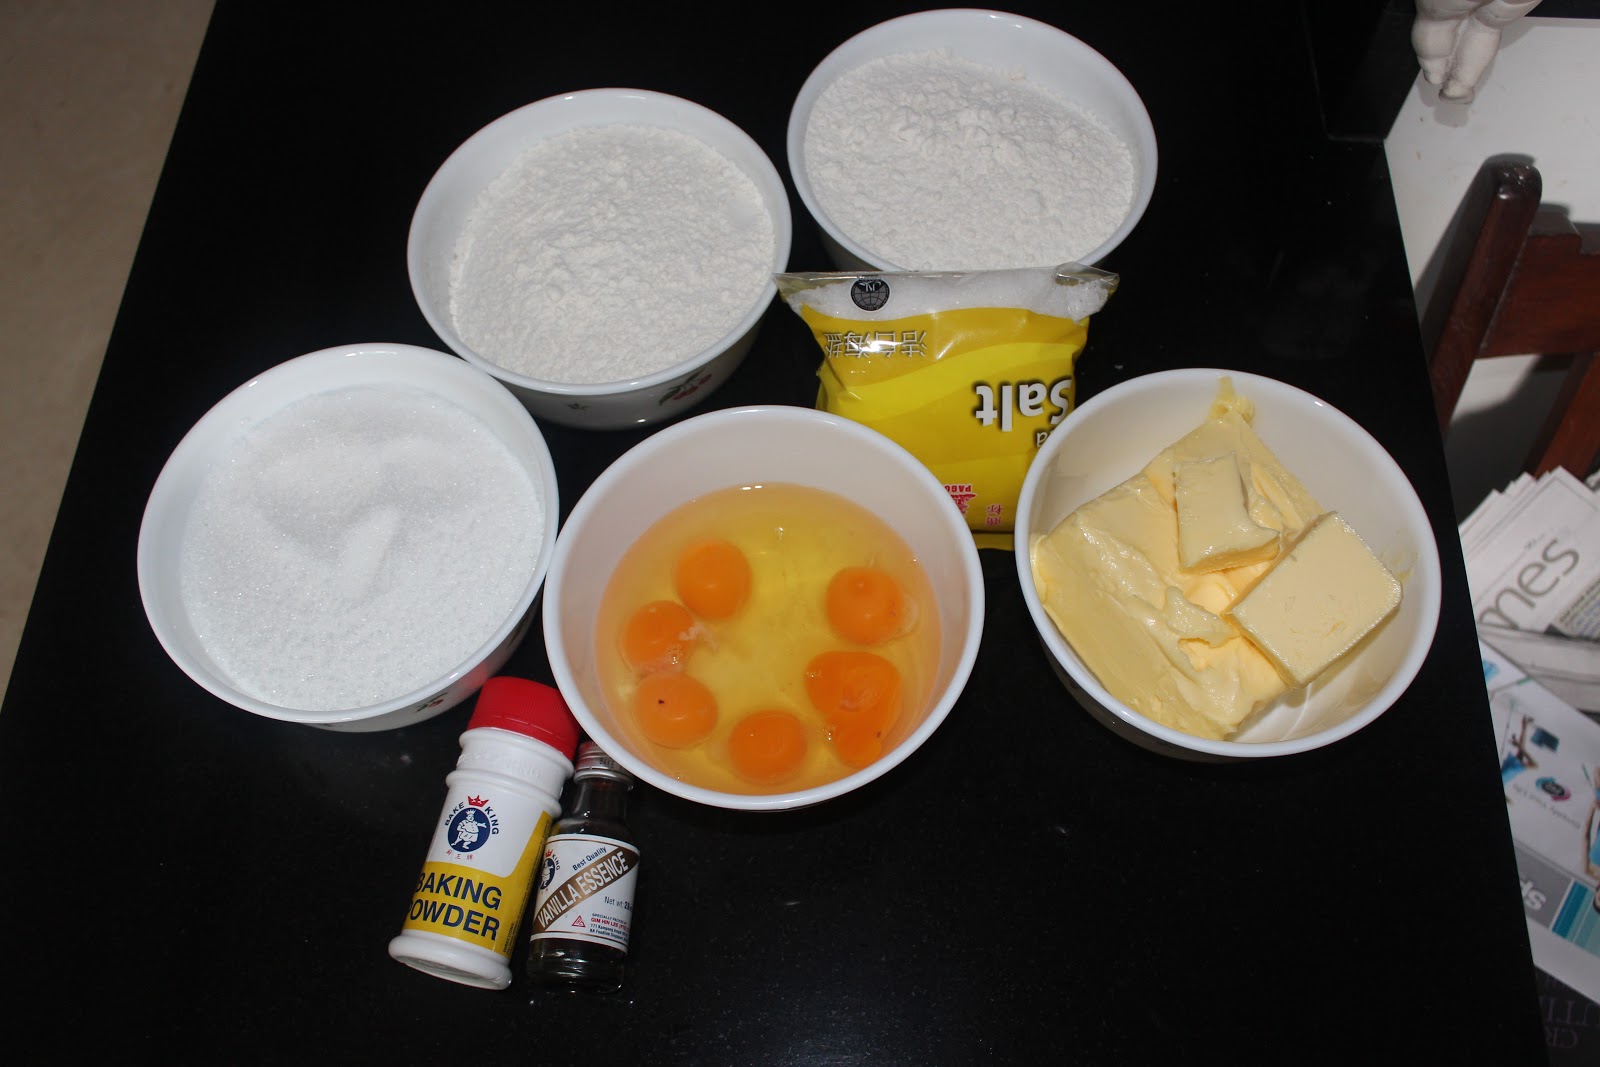
Ingredients for the dough : eggs, white sugar, flour, baking powder, vanilla extract/essence, unsalted butter and salt.
 1 : Cream Butter and White Sugar together

 2. Add the eggs and vanilla extract/essence ( I know not so appetizing ) But I assure you it does taste really good after it is done.
 3. Add the flour, salt and baking powder  ( mix until combine)
4. Separate the dough and put them in cling wrap and leave it in the fridge overnight.

Day 2 - Rolling, Cutting and Baking


 Most of the cookies cutters we used.


 Halloween Cookies 
 Sandwich Cookies 


 Messy Table 
The fillings for my sandwich cookies : Nutella and Peanut Butter & Jelly. I actually wanted to use pre-made cream cheese frosting. But it tastes terrible thus I only filled one cookie.

Day 3 - Decorating 

Before I show you the pictures of my decorated cookies. I will first tell you the recipe that we used for the royal icing. Click the link -> Wilton Royal Icing
 The fondant decorating table (above) Royal Icing decorating table (below) Messy right?

 Some of the cookies decorated using Royal Icing (pictures below)


 Fondant decorated cookies using the texture mats (pictures below)


Fondant painted with silver and blue luster dust =) (they are edible) (pictures below)


All the cookies that were decorated on day 3 and there is still more cookies to be decorated. (pictures below)


Day 4 - Decorating (continued)


More Fondant decorated cookies (mainly butterflies, snowflakes, wedding cakes and dresses)


These cookies are then brushed with luster dust.


This is to give this snowflake some dimension. see how the pattern pop up more with the painted luster dust as compared to the original (above)

Process of painting on the luster dust. (add a few drops of lemon extract and a small scoop of luster dust and you will get a paint like mixture) use a clean/new fine brush to paint.
Decorated cookies for the day. Finally its the last batch. (pictures below)


Day 5 - Packaging 

It finally comes to the packaging of the cookies. They are individually wrapped in zip lock bags. and then wrapped with a silver ribbon.


Finished Product (A total of 61 individual bags)


Hope you Guys Enjoyed the pictures =)

These was sure a tiring job. but I loved every minute of it. 

Saturday, 6 October 2012

Pumpkin Sandwich Cookies from Scratch and Wheat Bone Doggie Biscuits

Hey guys, hope you guys had an awesome day. Today I have for you the Pumpkin Sandwich Cookies with Buttercream Frosting from scratch and a recipe (Wheat Bone) for your lovely Companion or one would say man's best friend. 

pictures are below so hope you guys enjoy

1. Pumpkin Sandwich Cookies with Buttercream Frosting (for your upcoming halloween party)

Ingredients : recipe click -> Rolled Sugar Cookies <-- these recipe makes about 60 pieces of cookies
but I adjusted the recipe so that it would make about 30 pieces. Of course it still depends on how thick or thin you roll out your dough.
For those who are lazy to click like me sometimes =)
Here is the recipe I used:
170g unsalted butter 
200g white sugar
2 eggs
310g all purpose flour
1/2 teaspoon vanilla extract
1/2 teaspoon salt
1 teaspoon baking power
 Method : 
1. Cream Butter and Sugar till smooth
2. Beat in eggs and vanilla extract
3. Stir in baking powder, salt and the flour
4. Cover and chill dough for 1 hour or overnight
In this version, I divided the dough into half. While putting half the plain white sugar cookies into cling wrap and chill it in the fridge. 
Then Dyed the other half with orange gel food colouring to orange like a pumpkin =)
 Put it in cling wrap to chill in the fridge, Isn't the Colour pretty ?
After chilling the dough, put it on a lightly dusted surface to roll it out or between two parchment paper. The dough is a little sticky or in my case really sticky. Just knead it with a little bit more flour and it would just fine. Use a cookie cutter of your choice. I used my previous post's cookie cutter of the pumpkin. Place the cut out cookie, 1 inch part on a cookie sheet. And baked it in the preheat oven of 175 degrees though the recipe said 200 degrees. I have the tendency to forget about my cookies thus if you are like me, its best not to put it so high.

Once its done, it will look like this. the colour is a little lighter thus add more gel food colouring at the start but not till it leaves a bitter after taste.
Let the cookies cool completely before putting the buttercream frosting if not the frosting will melt and it will become messy. I did not manage to make pure black buttercream frosting as it turned out to be a ugly purplish colour thus that batch was discarded. I made another batch and just used wilton's already made black icing to decorate the top of the cookie. But I found a website that teaches you how to make it, if anyone is interested. click the link -> Pure Black Buttercream Frosting. Interesting fact I learnt today. They use cocoa powder with the black gel food colouring.
 Store it in an air tide container in the fridge  =)


As for the other half of the sugar cookies. I just use my other cookie cutters to cut out shapes.

 Finished cookies
 Happy Halloween guys though its like a few weeks early but enjoy life like there is no tomorrow.

2. Wheat Bones (Doggie Treats for your lovely companion or man's best friend)

I have gotten this recipe from a game called Jessica's Bow Wow Bistro and I decided to try it out since I have dogs too =) Nice treat for them. Ps: It doesn't taste that nice but the dogs seem to like it.

Pictures are below so hope you guys enjoy
 The ingredient is as follows. Though I half the quantity as I was not sure if my dogs would like it. 
Original recipe:
2 Cups Whole - Wheat Flour
1 Cup Cornmeal or Rice Flour (I used the corn meal)
1/3 Cup Vegetable Oil 
1 Cup Water, use as Needed
1 1/2 teaspoon of parsley
1 Cup Peanut Butter
For these recipe, I just use half the quantity (e.g. 1 Cup Peanut butter , I used 1/2 cup)
Method:
1. Lightly Grease Baking Sheets or just use cookie sheets (it beats washing the tray when your done)
2. Preheat the oven to 175 degrees
3. Mix the dry and wet ingredients separately
4. Mix both together to form a dough (if its too sticky add more flour)
5. Put the dough in a lightly floured surface to roll it out.
6. Bake for 20 to 25 minutes in the preheated oven, untill nicely browned and firm.
This is the dough that is formed after mixing. Roll it out and use the cookie cutter of your choice. I choose to use the dog bone cookie cutter which is simliar to all the dog treats that I have seen.
Line it on the cookie tray 1 inch apart as shown. and put it in the oven


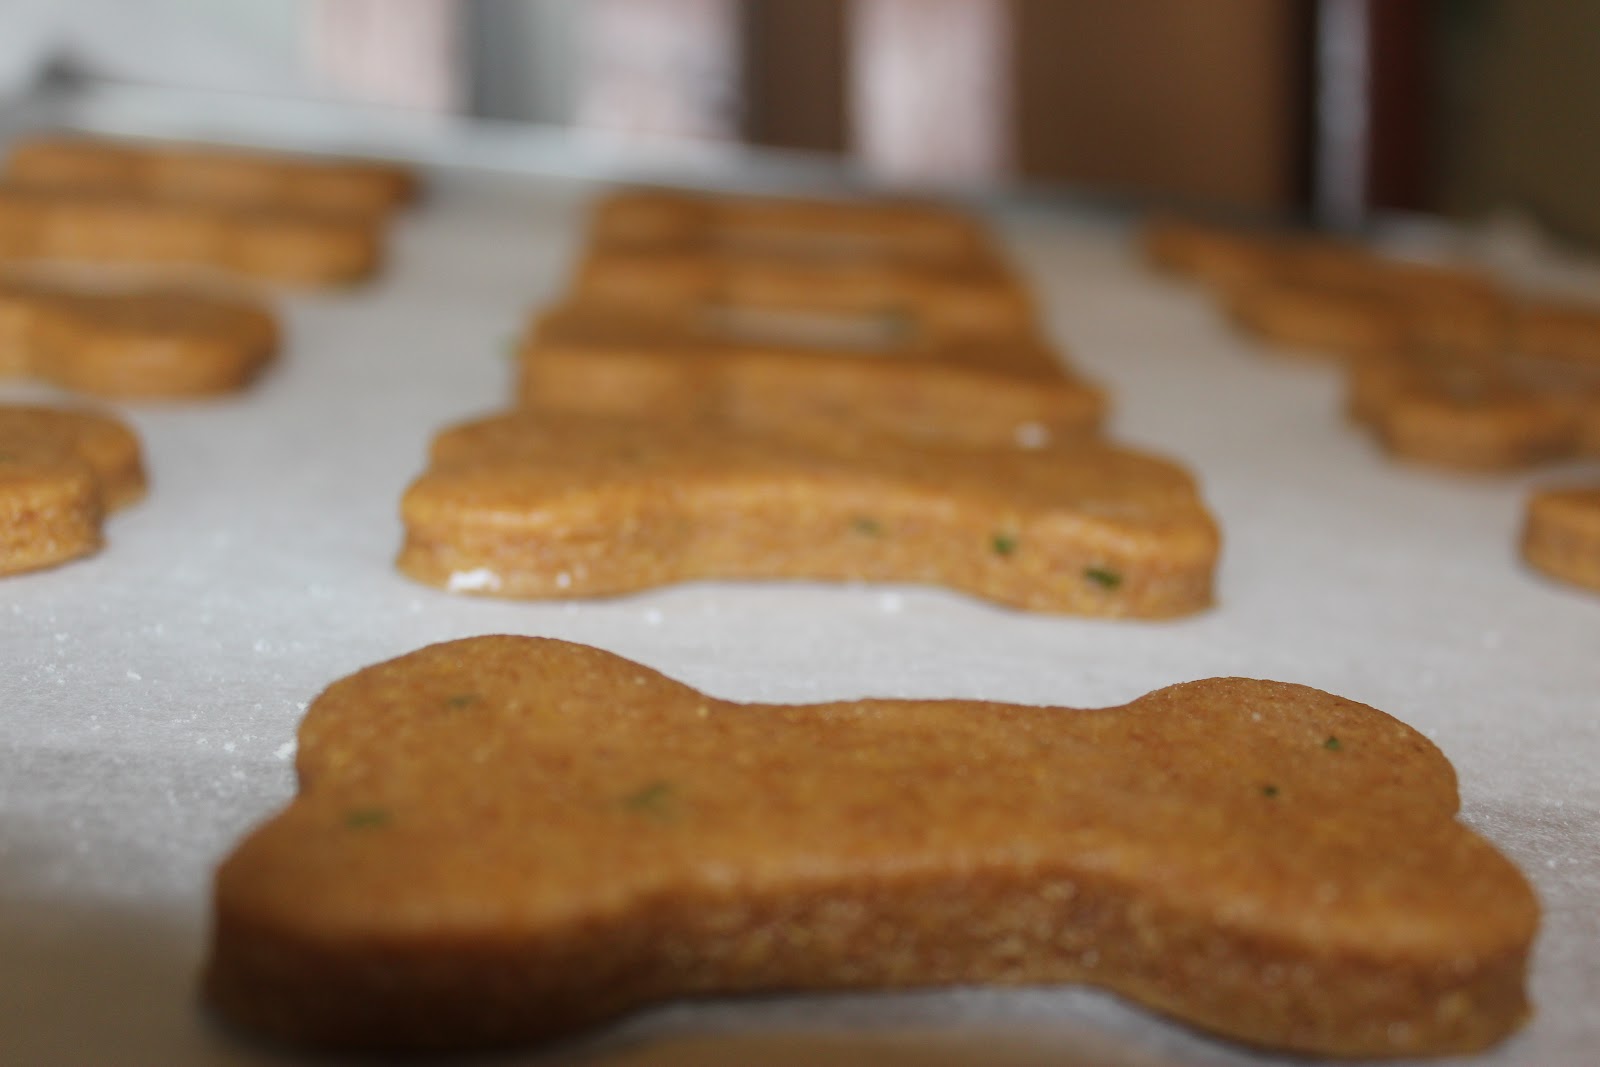
And there you go, Home made Doggie Treats for your Dogs to enjoy. 
Thursday, 4 October 2012

Practicing for Halloween =)

Hey Guys, so I finally finished my exams thus I can finally start to bake and do more nail art designs (some from magazines and some from my imagination) for you guys. To start of, its the month of October and that means Halloween is coming. So I decided to practice baking halloween treats, I started with the pre-made stuff that I found in my local market. I got this cool pumpkin cookie sandwich kit and a brain cupcake making kit.


The pictures I took while baking these is below. *ps. not as tasty as it looks*

1. Chocolate Sandwich Cookie Kit (Pumpkin shaped) it comes with the free cookie cutter
The dough.. after adding 4 Tbsp of butter, and one egg with the pre-made cookie mix. Yes I know it doesn't look appetizing. I would say it looks like (inappropriate word). You guys shall imagine on ur own what it looks like.
Once ur dough is ready, just lightly dust ur work table with flour and roll out the dough and cut it out using the cookie cutter like I did so. The number of cookie sandwiches you make depends on the thickness of the cookie 
Bake it in a preheated oven for 9 to 11 minutes at 180 Degrees. The bad part about using dark coloured dough. You are not sure when it is done. Here is where you use ur own eyes to see if it has finished baking. 

Make the icing, 1 cup of icing sugar, powdered sugar which ever you have in your country, 4 Tbsp of butter and their orange icing powder mix. Ps, the smell is terrible, I had to add more icing sugar to neutralise the smell. 
Finished product. Put it in the fridge for awhile to let the icing harden.
Tasting Meter:
The icing -> Really sweet  - 3/10
The cookie -> The taste further reinforces my dislike for chocolate cookies. *tastes really bland* 3/10
Conclusion : I prefer making it from scratch. next time i will try my own cookie recipe but with orange coloured dough and black icing =) Look out for it soon.

2. The Brain Cupcake Kit
The process is similar to the Betty Crocker Cake mix.

 In the Oven

 One of my best cupcakes ever. Perfectly cooked through with slight browning =)
 Icing. Smell's terrible and had to neutralise it with vanilla extract and more pink gel food colouring to get this nice pink.
Well my Icing Skills are terrible but it is not bad for a first timer. Does it look like brains to you?


Anyone wants to eat Brains?? 
Tasting meter : 
The icing is overly sweet. 3/10.
The cupcake is small and not so sweet. 6/10
Conclusion : I make them from scratch is so much better than these pre-made stuff

Stay Tune for more baking dis month. Next week I will be using fondant to decorate cookies =).